How to Turn Property Photos Into a Real Estate Video
A practical photo-to-video workflow for turning approved listing images into an editable real estate video with motion, music, copy, branding, and the right export format.
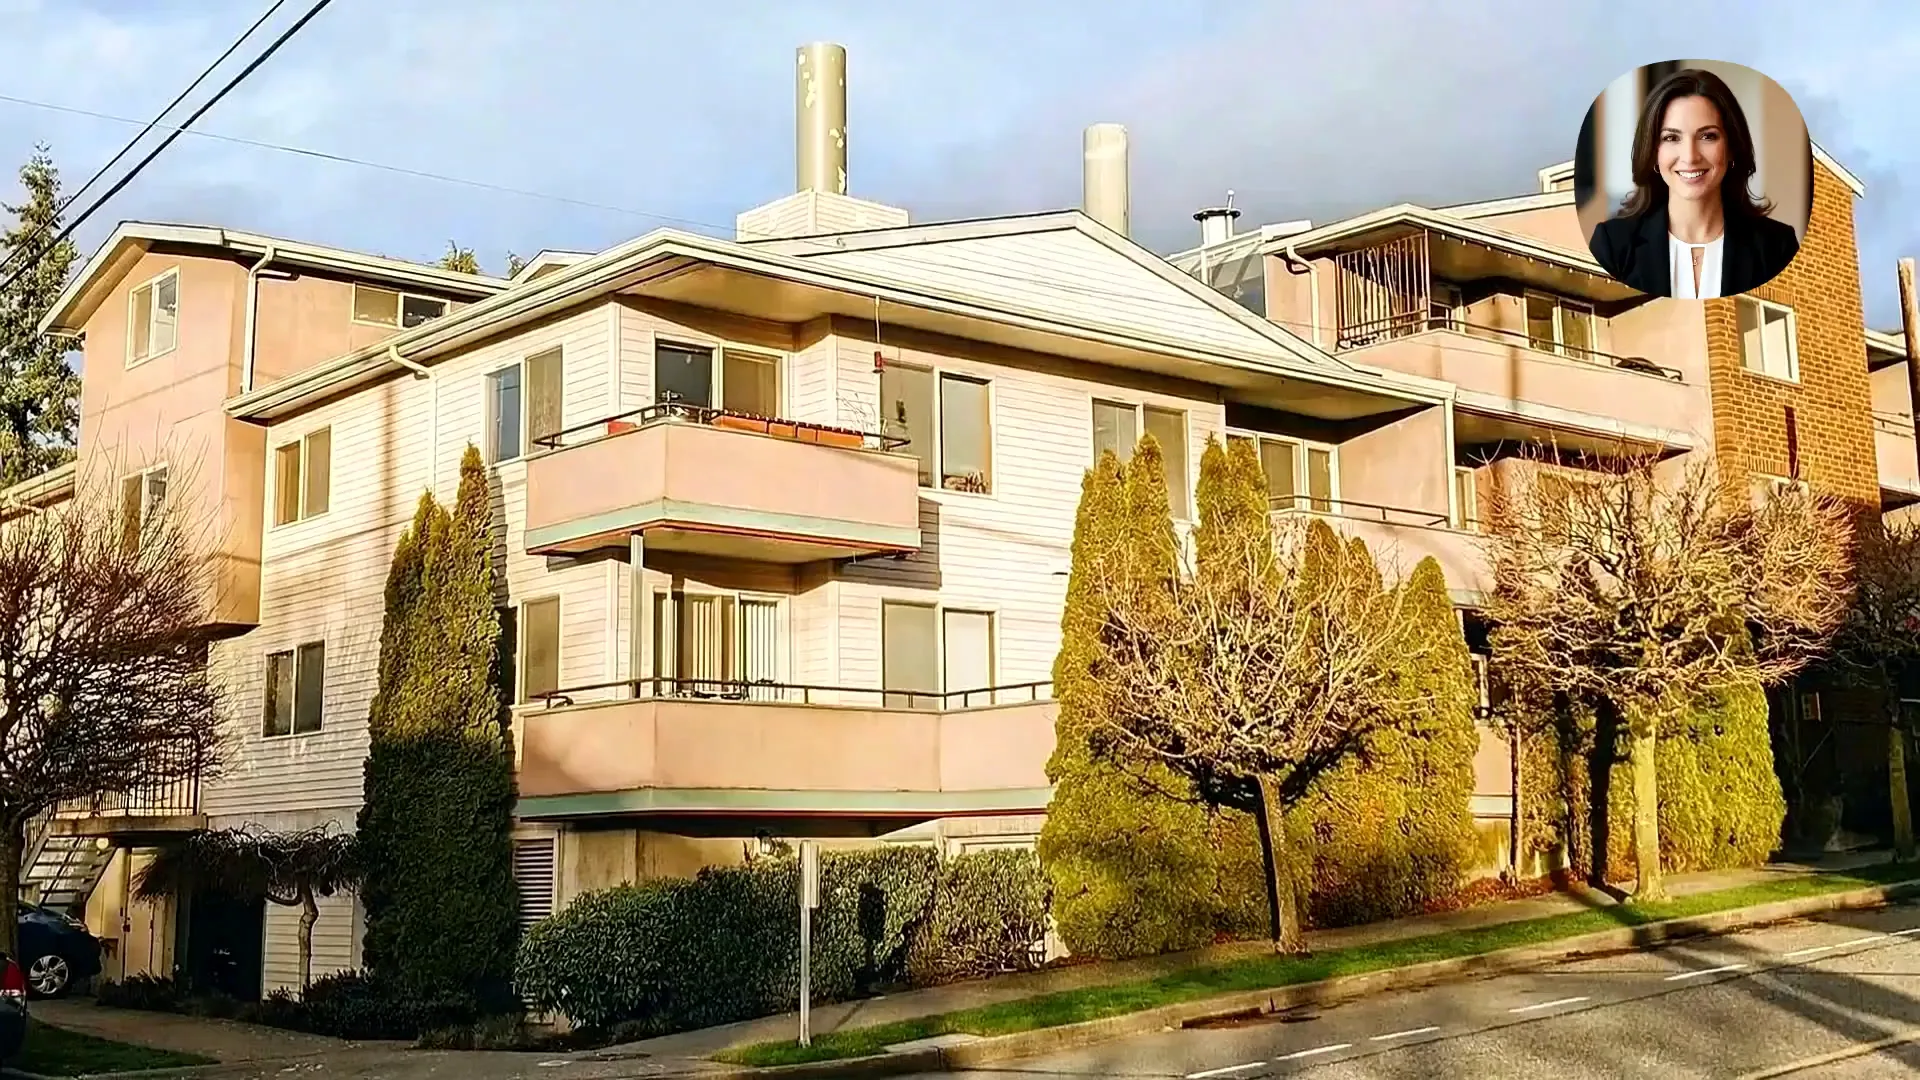
To turn property photos into a real estate video, select the strongest approved images, arrange them in a clear property story, add restrained camera motion, layer in accurate listing details and branding, then review every scene before exporting the format your campaign needs.
What you need before you start
- Approved exterior, interior, amenity, and detail photos
- The property address or approved location wording
- Accurate price, room, amenity, and open-house details
- Agent or brokerage name, logo, contact details, and brand rules
- A destination such as Instagram, YouTube, the listing page, an ad, or a presentation
- Permission to use the source media in video marketing
Step 1: Choose the photos that carry the story
More images do not automatically make a better video. Use the smallest set that explains the property clearly. Prioritize the exterior, main living area, kitchen, primary bedroom, strongest bathroom, outdoor space, view, and one or two details that support the listing's positioning.
- Remove near-duplicates and alternate angles that do not add information
- Avoid mixing heavily edited and natural-looking images in one sequence
- Keep image orientation and quality reasonably consistent
- Do not use a room photo if the representation is outdated or inaccurate
Step 2: Arrange the property like a walkthrough
A useful default sequence is exterior, entry, living area, kitchen, dining area, bedrooms, bathrooms, amenities, outdoor space, view, then agent or brokerage outro. Change the order when the property's defining feature deserves to appear first.
Step 3: Match camera motion to the image
Use motion to guide attention, not to make every scene feel busy. A gentle push can draw the viewer into a room, a pull-back can reveal scale, and a side movement can help with wide architectural compositions. Review the edges of the frame and stop any move that bends lines, invents objects, or misrepresents the layout.
Step 4: Add only approved property information
- Use short overlays that can be read before the scene changes
- Prefer specific facts such as bed count, view, lot, renovation, or open-house time
- Do not use unverified superlatives or claims the listing cannot support
- Keep the property story separate from the final agent contact screen
Step 5: Choose sound, narration, and branding
Music sets pace, narration can explain important details, and a branded outro gives the viewer a next action. Keep the audio treatment consistent with the property's positioning and make sure you have the rights required for the channels where the video will appear.
Step 6: Export for the destination
- Vertical 9:16 for Instagram Reels, TikTok, YouTube Shorts, and mobile-first ads
- Square 1:1 for feeds, brokerage posts, and placements where the destination favors a square frame
- Landscape 16:9 for YouTube, listing pages, presentations, and website embeds
Final property-video review checklist
- Every room and feature is identified correctly
- No generated motion adds, removes, or distorts an important property element
- Price, location, dates, contact details, and calls to action are current
- Text remains readable on a phone
- Music, images, logos, and listing data are cleared for the intended use
- The final export follows applicable disclosure and platform requirements
Create a video from approved property photos
Upload the image set, choose the sequence and movement, then review the editable project before publishing.